Saturday, June 4, 2011

Fly-front Zipper Tutorial

Before I start with the instructions I have to state that I did not interface any of the pieces, which I really really should have, especially with my fabric choice.
Ok, so here goes...

You need:
right and left garment piece
2 fly pieces cut on fold
a zipper
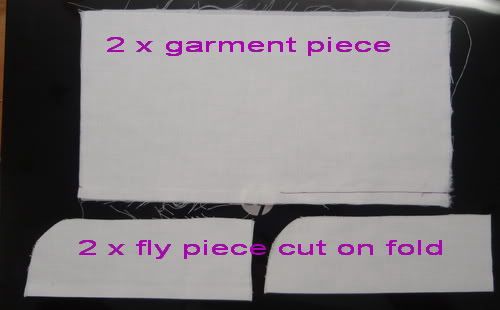

1. Sew the two garment pieces right sides facing to the point marking the end of the fly (marked with the dot on the pic). IMPORTANT: The right garment side should have seam allowance 1cm wide while the left one 2cm (or any other width you prefer, just keep the left garment SA larger).
On the right garment side either draw, baste or however temporarily mark the fly stitching line.
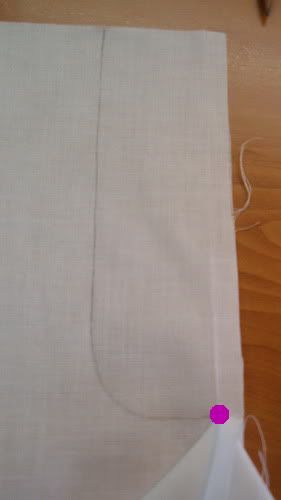

2. Baste and sew the right fly piece to the right front garment piece with right sides together (SA 1cm). Sew to the point marking the end of the fly. Trim the seam allowance and press the fly piece together with seam allowance away from the garment.
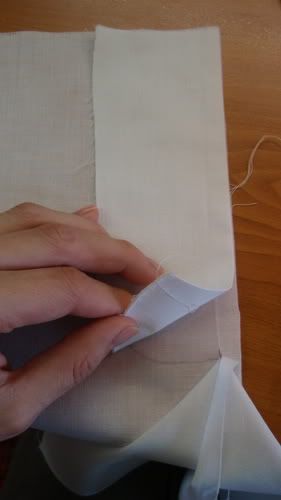

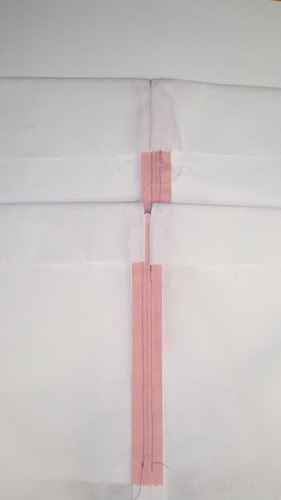
3. Place the zipper, right side down, on the fly piece. The left zipper tape should be on the seam which joins the fly piece to the garment. The bottom part of the zipper (the metal thingy) should be 2cm above the bottom end of the fly piece.
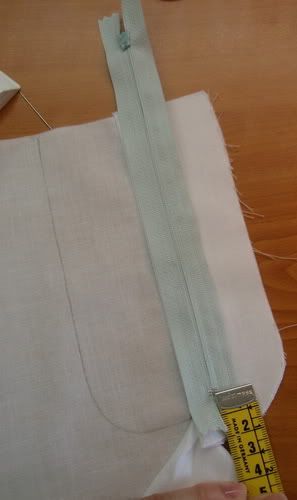

4. Baste the left zipper tape with the bottom part folded up. Sew the right zipper tape with a zipper foot as close to the zipper teeth as possible and sew the second seam somewhere in the middle of the zipper tape. Remove the basting on the left zipper tape.
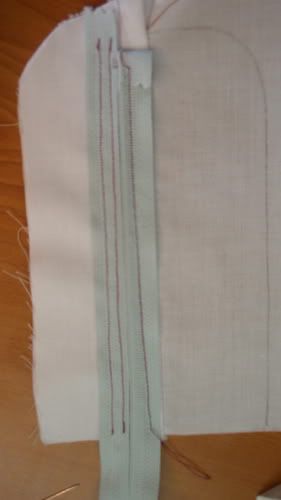

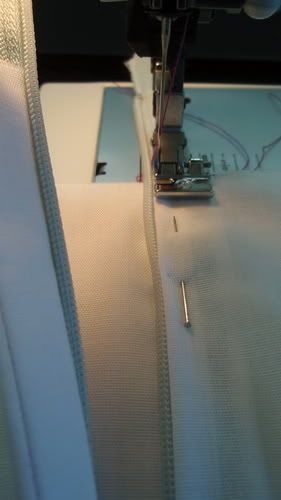
5. Turn the fly piece in at the seam line and press. The important part is that you do not fold exactly on the seam line. The seam line should be a few mm towards the inner part of the fly. Like this:
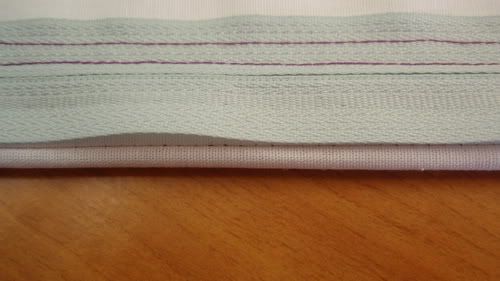

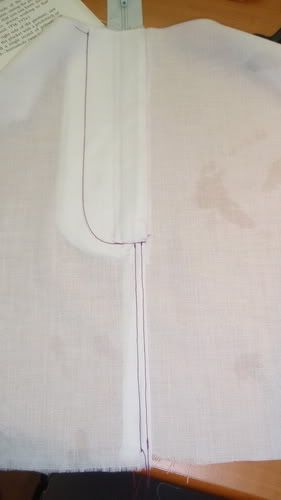
6. Sew the fly stitching line, following the previously marked line. Be careful here not to sew the left zipper tape. (please excuse the water marks)


7. Open the zipper and fold the seam allowance of the left garment piece by ONLY 1cm (by half basically). This is important to achieve really nice and flat results. Baste it to the left zipper tape. Close the zipper to see how it is. (this photo is really blurry, but hopefully you can see my point)
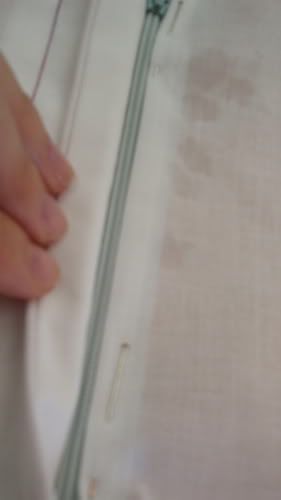

8. Turn the whole thing wrong-side-up and pin the left fly piece so that both fly pieces cover each other completely.
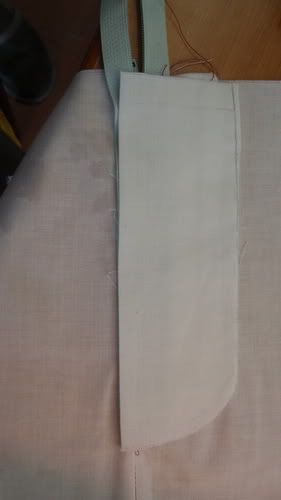

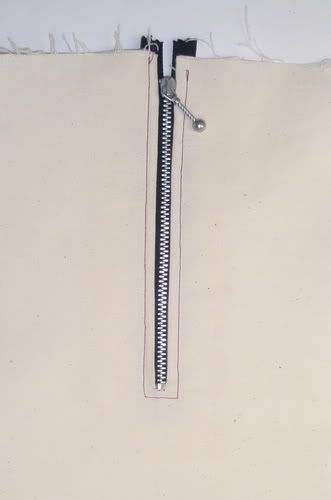
9. Turn right-side-up and sew with the zipper foot close to the zipper teeth through all layers (garment seam allowance, zipper tape and left fly piece).

10. Do not cut the upper part of the zipper until you attach the waistband piece. I didn't attach waistband piece here since it is only a practice piece. You can finish the garment with the flat-fell seam or leave it as it is.


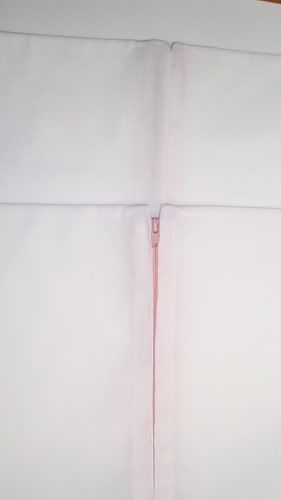
And you're done with your perfect fly-front zipper :)

This fly-front zipper construction is a bit different that the ones you usually find in sewing books where the fly piece is already a part of the garment pattern. I wanted to try this technique because most of my RTW pants have this type of zipper construction, and I wanted to see if I can duplicate that. And I am actually pleased with the results. The Slovene book I told you about yesterday had the same SA for both garment pieces, but I discovered that you get much nicer results with different seam allowances. Plus this makes making flat-fell seams easier. So, I actually ended up improving the technique. I'm feeling really proud of myself right now :)

I hope this was helpful.
Let's Talk Zippers

As a part of my challenge, I embarked on the chapter of zippers. Zippers are one of those parts of the garment construction that show the craftsmanship of the sewer. Proper application is therefore necessary to avoid the home-sewn look.

I never had any major issues with zipper construction as such, but zippers with facing, now that's another story. That is why I decided to practice the zippers with facing.

The first zipper I made is a centered zipper with facing. For the instructions I used this tutorial I found on Fashion Incubator. And I got the best results I have ever gotten. Honestly, perfection!

The second zipper I made is a lapped zipper with facing. Again I used the instructions found on Fashion Incubator. And again, I got perfect results.


Then I also did a decorative or visible zipper. The topstitching here is kind of wonky, I apologize for that, but since it's a practice piece, I didn't really bother re-doing it.


For the invisible zipper application I used Els' tutorial. I have been using this technique ever since I saw it and I always got amazing results.

Those were relatively easy. I had some issues with the fly-front zipper. In all the books and online tutorials I found instructions for application of the zipper where the fly extension is already a part of the garment piece. However, in all my pattern drafting books I found the instructions stating that fly extension pieces should be cut separately, not as part of the garment piece. Then I found instructions for this kind of application in a Slovene sewing book I own, well, it is the only sewing book published in Slovene worth mentioning (hmm, maybe I could translate one of the English sewing books in Slovene). Anyhow, I decided to master this kind of application and make a tutorial. I ended up improving the technique :) I will post the tutorial a bit later.

Wednesday, June 1, 2011

As Promised ... My Month in Milan

As I mentioned before, I spent a month in Milan last summer. I attended summer course for Fashion Stylist at the Istituto di Moda Burgo. The course lasted 4 weeks, two of which were intended for learning to draw fashion figures and clothing in various techniques; and the second two weeks were basically a pattern drafting course.

I must say I LOVE Italy, always have, always will. And those four weeks there not only deepened my love for Italy, but also opened my eyes to a whole new world of creativity and gave me the necessary courage and enthusiasm to follow my dreams.

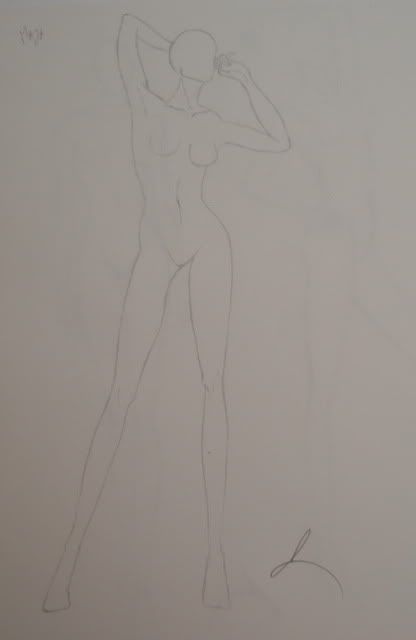
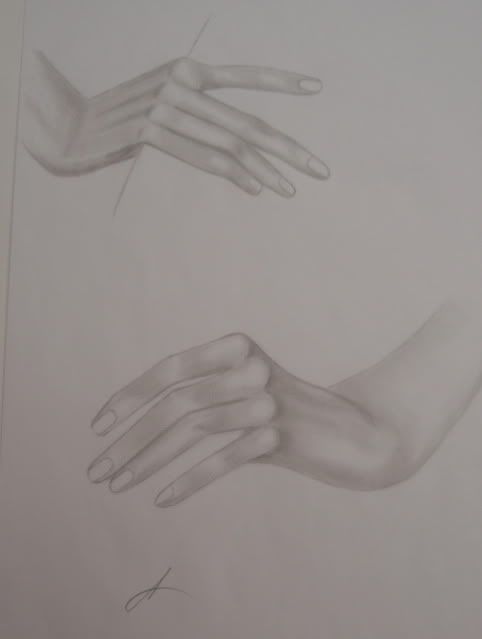
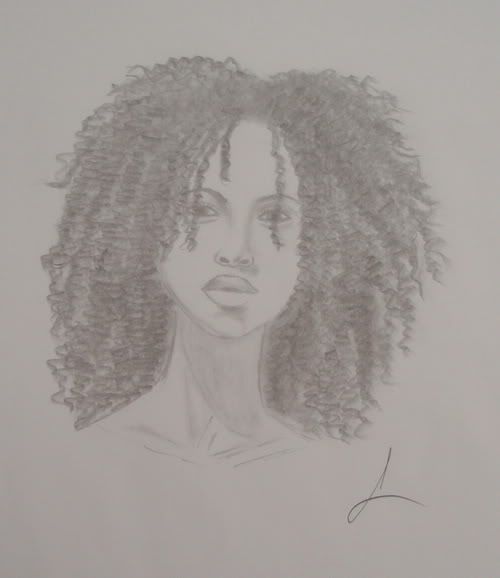
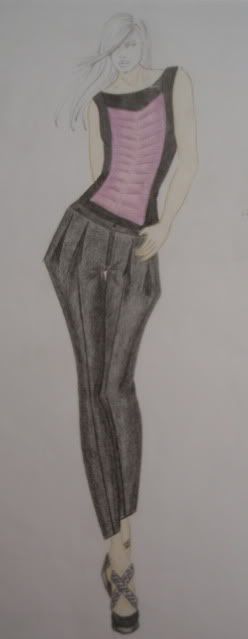
As I said, we spent the first two weeks drawing. We started drawing first the silhouettes for fashion figures in various poses, then we drew separately legs, arm, hands, face with hair. That was to get down the proportions and details. Then we started drawing dressed figures, first in pencil, then coloured pencils and at last in markers. I cannot tell you how much fun I had. I re-discovered my love for drawing and the more I did it, the more fun it got. The most fun was definitely trying to figure out how to draw various fabrics to get the wanted effect. We used fashion magazines for reference, which was really helpful.

Here are a few of my drawings:


(click on images to view them larger)

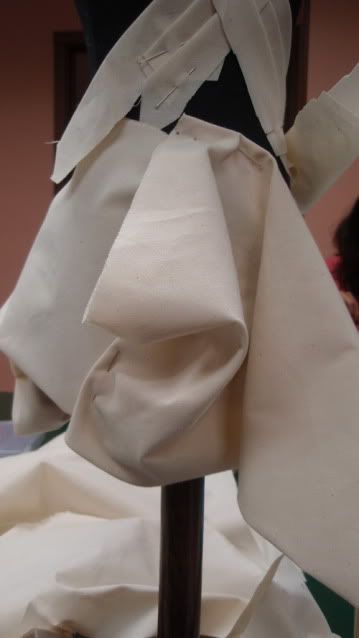
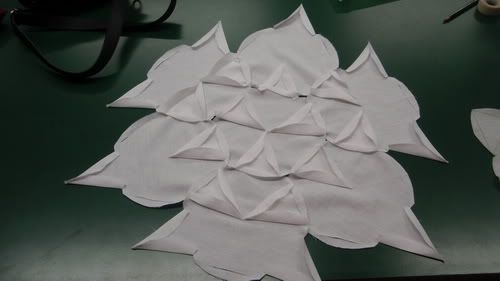
I spent the second two weeks pattern drafting. Since I had some previous knowledge of drafting, me and my teachers decided to draft and sew a perfectly fitting sloper for me along with a detailed explanation of all alterations. I forgot to mention before that the IMB has its own books, both for pattern drafting and figure drawing. We were given both books on the first day. And as you know each pattern drafting books slightly differs from another. I learned pattern drafting using the Rundschau system. The IMB system only slightly differs in the drafting process itself, the main difference is in the final result, namely, the patterns drafted with IMB system are tighter and more fitted. But nothing a few minor alterations to any pattern can't fix.
Anyhow, during these two weeks I also learned a few tricks of the trade, and we played sort of a game where we showed out teacher a photo in the magazine and she told us how it is done. Amazing! Let me just say that some things look more complicated than they really are :) I found it interesting that they do encourage copying works of other designers to learn various techniques. But they do however encourage creativity and imagination in every possible way.

Here are a few pics from my pattern drafting class:


Well, while I wasn't attending classes, I was exploring Milan and nearby cities (Verona, Bergamo). If anyone is interested I have tons of pics and I could share some with you.