Here's the plan. The fact is, that I have to learn and practice various sewing techniques (also more drafting techniques, but that'll be the subject of another post), so I decided to make a challenge out of it. Challenges are fun, right? So here goes...
Have you seen the
Julie & Julia movie. Well, this movie was an inspiration for the whole idea. The idea is to master the following techniques in a given time frame.
The techniques:
1. STITCHES
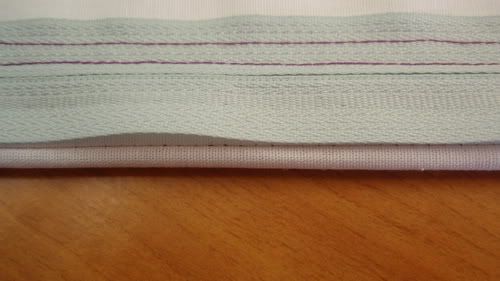
StaystitchingEdgestitchingUndestitchingStitch-in-the-ditchEase basting
Gauge stitching
Bartack
Bobbin stitching2. HAND STITCHES
Backstitch
Basting stitches
Blanket stitches
Buttonhole stitches
Cross stitches
French tacks
Blindstitch
Catchstitch
Uneven slipstitch
Figure-eight stitch
Overcasting
Running stitches
Even slipstitches
Stabstitch
Thread loops
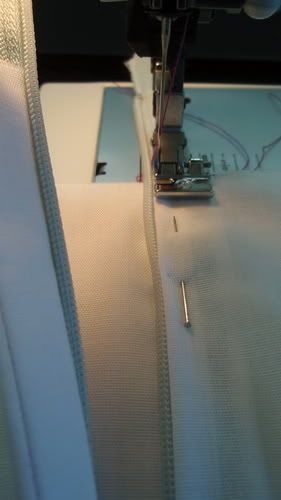
3. SEAMS
Bound finishEnclosed seams
Collars
Curved seams
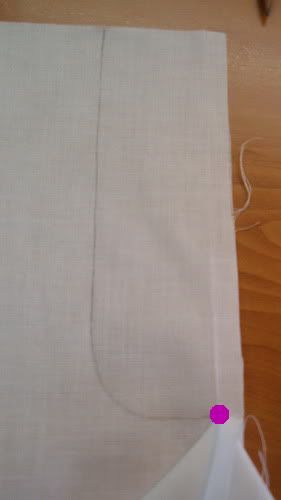
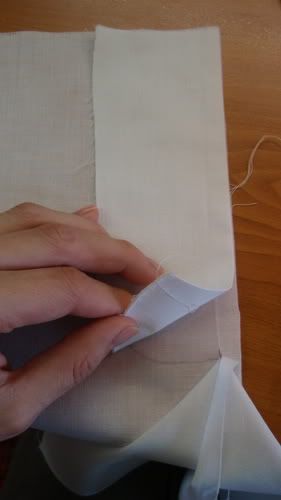
Corner seams
Eased seams
Reinforced seams and stays
Shoulder stay
Waistline stay
Neckline stay
Shaped seams
Loop seams and tunnelling
Stitching a curved line to a straight line
Stitching an inward curve to an outward curve
Stitching a seam with an inward corner
Reversing the seams
Mitred cornersTopstitched seamsWelt seamsLapped seamsPlain lapped seamsFlat lapped seamsPiped seams
French seamsDrapery french seams
Standing-fell or self-bound seamsModified standing-fell seams + for rufflesQuick flat-fell seamsModified quick flat-fell seamsFlat-fell seams for nonwoven fabrics
Double-stitched seamsHairline seamsNarrow or rolled seamsStrap seamsStretch seams
4. HEMS
Hong-kong finishBound finish
Overcasting by hand
Blind stitch
Hand.rolled hems
Faced hems
French hemming
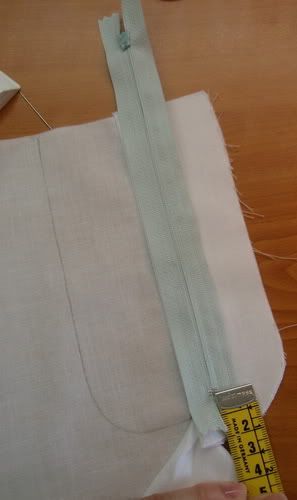
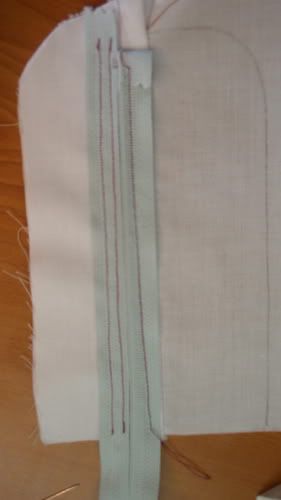
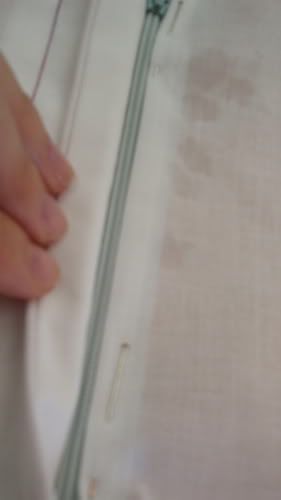
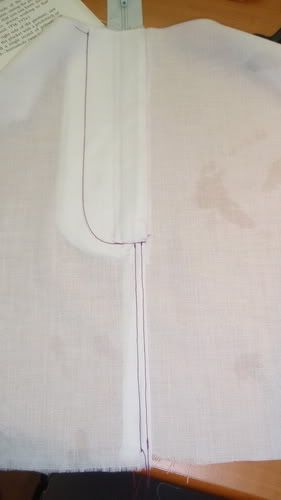
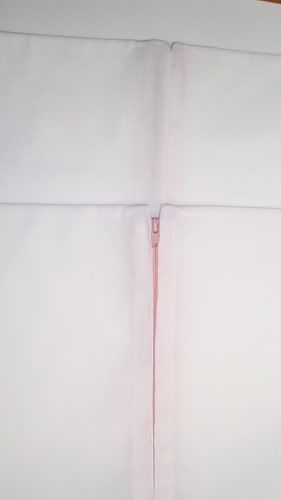
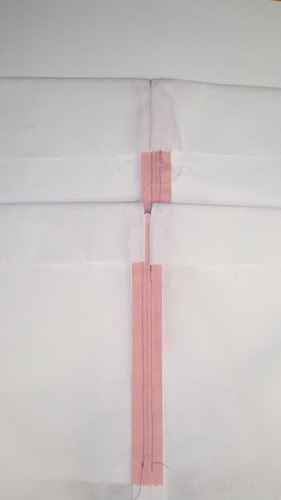
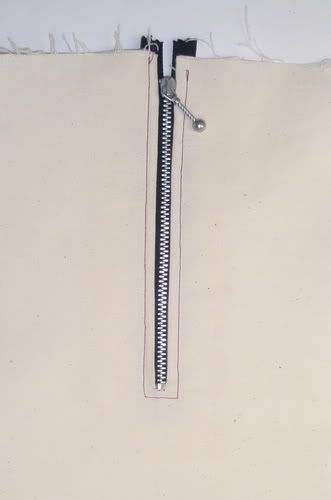
5. ZIPPERS
Slot zippers
Lapped zipper
Invisible zipper
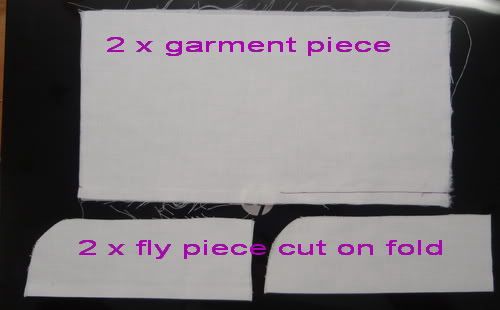
Fly zipper
Hand-finished zippers
Exposed zippers
6. BUTTONHOLES, BUTTONS
Strip method
Patch method
Faced or window method
Window method for nonwoven fabrics
Hand finish for bound buttonholes
Machine finish for bound buttonholes
Faced finish
Fabric loops inserted into a seam
Fabric loops inserted into a fold
Thread loops
7. SLEEVE PLACKETS AND CUFFS
Hemmed plackets
Mandarin slits
Faced plackets
Lined slash placket
Flat-lined placket
Hemmed-edge placket
Continuous placket
Double-strip continuous placket
Tailored or shirtsleeve placket
Easy tailored placket
One-piece cuffs
Two-piece cuffs
Complete cuffs
Classic cuff and shirtsleeve application
Stitch-in-the-ditch application
Wrap cuff application
Shaped cuff application
Chloe cuff application
Barrel cuffs
Fake cuffs
Fake barrel cuffs
Turned-back cuffs
Cuff a straight, hemmed sleeve
8. COLLARS
Tie collars
Turtleneck or bias-roll collars
Standing collars
Shirt collars
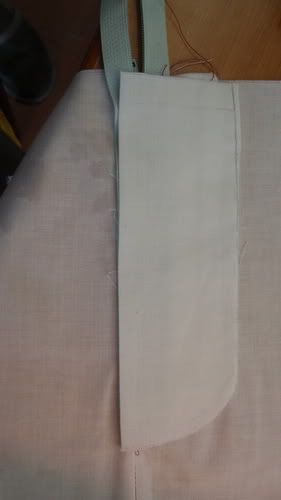
9. POCKETS
Patch pocket – unlined
Interfaced pockets
Flat-lined pockets
Self-fabric lined pockets
Lined pockets
Invisibly stitched pockets
Inside-stitched pockets
Square pockets
Nonwoven pockets
Flaps and tabs with topstitching
Flaps and tabs without topstitching
Welts
Bound pockets – strip method
Bound pockets – patch method
Bound pockets – faced method
Bound pockets with a flap
Separate welt pocket
One-piece welt pocket
Inseam pockets
Time frame: February 9 - March 31
Of course, I could have done all that in a shorter period of time, but counting in my day job, sports and other projects I'm embarking, this period of time seams fair enough.
I won't be doing the techniques in the order written above. I will do them based on how much spare time I will have at that point. And, of course, I'll be posting about my progress. I will not post about every single technique, but definitely about the more difficult ones.
So, ready, set, go...let the challenge begin...


